Faucet Repair and Installation Guide
You're about to tackle a faucet repair or installation, and it's essential to approach it with precision and the right tools. With adjustable wrenches and plumber's tape in hand, you can address leaks and noisy faucets efficiently. Understanding the nuances of replacing washers and selecting the ideal faucet for your space is key. Ready to explore step-by-step solutions and secure your faucet's longevity? Let's plunge into the essentials that guarantee a well-functioning fixture.
Key Takeaways
- Regularly inspect faucets for leaks and tighten connections to prevent water waste.
- Use essential tools like wrenches and plumber’s tape for effective faucet repairs.
- Replace worn washers in compression faucets to stop leaks and improve function.
- Follow step-by-step procedures for installing new faucets and addressing common issues.
- Maintain a cleaning routine and inspect components to ensure long-term faucet performance.
Identify and Fix Common Faucet Problems
Leaky faucets can waste water-line-repair-and-replacement.html">water and increase your bills, but fixing them is often straightforward. Start by checking for dripping faucets due to valve issues. High water pressure might also cause leaks.
Identify your faucet type—compression, ball, cartridge, or ceramic disc—to determine the right fix. Cartridge replacement is common and requires checking sink compatibility for proper fitting.
Identify your faucet type to ensure proper repair; cartridge replacements often need sink compatibility checks.
Consider spout height and brand comparisons during installation for peak performance. Noise problems often stem from loose parts or incorrect installation tips.
Make certain all connections are tight, and use compatible parts to avoid further issues. Each brand might differ slightly, so consult specific guidelines.
Addressing these factors guarantees a well-functioning faucet, reducing unnecessary costs and water waste.
Must-Have Tools for Faucet Repair
For effective faucet repair, having the right tools is crucial. You'll need a basic toolkit to handle various faucet types and master plumbing basics.
Start with an adjustable wrench; it’s essential for loosening nuts on different faucets. A basin wrench is indispensable for reaching tight spaces under sinks. Have a set of screwdrivers—both flathead and Phillips—to remove faucet handles and trim.
Don’t forget plumber’s tape to guarantee leak-proof seals on threaded connections. A cartridge puller is useful if you're dealing with cartridge-based faucets. Needle-nose pliers help in extracting small parts or repairing internal mechanisms.
Keep a bucket handy to catch water spills. Finally, a flashlight will illuminate dark areas, ensuring precision in your repair work. Equip yourself well, and you’re ready to tackle any faucet issue.
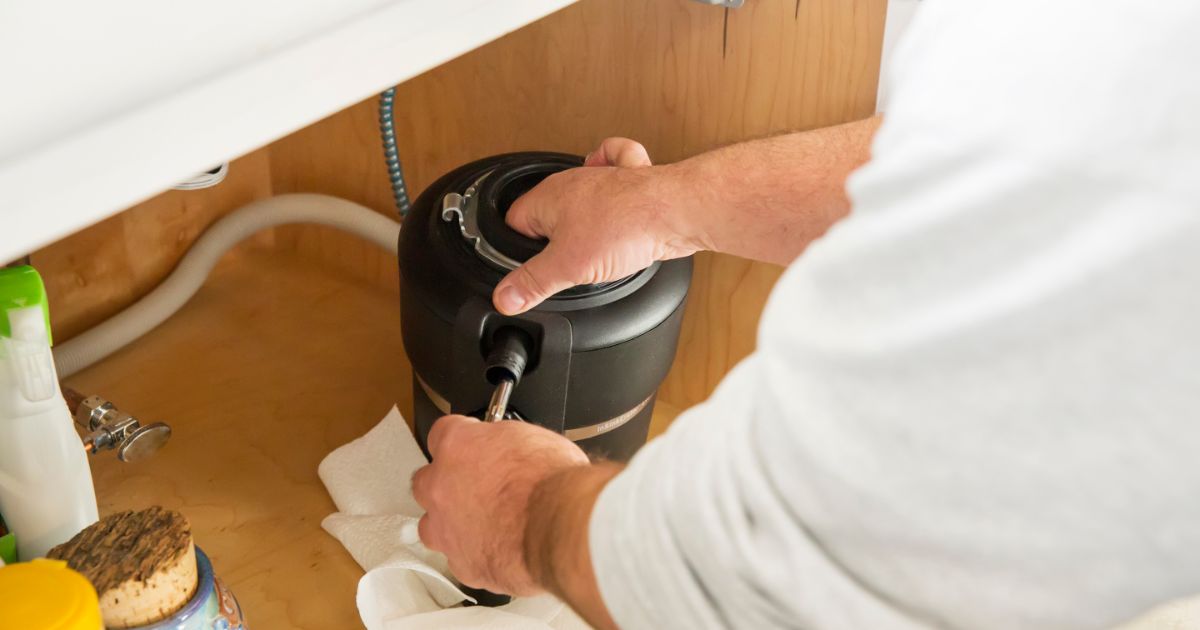
Step-by-Step Faucet Leak Fixes
Addressing a faucet leak involves a systematic approach to guarantee a thorough fix. Start by turning off the water supply to prevent further drips.
Remove the faucet handle using a screwdriver, making sure you're careful with different faucet materials to avoid damage. Once exposed, check the valve stem for wear, a common culprit in leaks.
Carefully inspect the O-ring and seal—replace them if needed for effective drip prevention. Reassemble the components, making certain each part fits snugly.
Turn the water supply back on and test the faucet. If the leak persists, revisit each step to verify nothing’s overlooked.
Proper maintenance of faucet materials and components will extend the life of your fixture and guarantee efficient drip prevention.
Replacing a Faucet Washer Made Easy
Fixing a faucet leak often involves more than just examining the valve stem and O-ring; sometimes, you need to replace the washer.
Start by identifying your faucet type—compression faucets are the usual suspects. Once identified, follow these steps:
- Turn off the Water Supply: Locate the shut-off valve under the sink and turn it clockwise to stop water flow.
- Remove the Faucet Handle: Use a screwdriver to remove the handle, exposing the valve stem.
- Replace the Washer: Unscrew the valve stem and replace the old washer. Choose durable washer materials like rubber or silicone for longevity.
Reassemble everything in reverse order.
Need a Plumber Now?
Find licensed, reviewed plumbers in your area. Browse our nationwide directory of verified professionals.
Find Local Plumbers Call (866) 466-7190Picking the Perfect Faucet for Your Space
When choosing the perfect faucet for your space, how do you guarantee it meets both functional and aesthetic needs? Start by examining faucet styles that complement your decor—traditional, modern, or contemporary.
Match the finish with your existing fixtures for a cohesive look. Consider the faucet’s configuration: single-handle for simplicity or double-handle for precise control.
Next, prioritize water efficiency. Look for models with WaterSense certification, which can reduce water usage without sacrificing performance.
Check the flow rate, aiming for 1.5 gallons per minute or less to confirm conservation.
Additionally, evaluate the faucet’s build quality. Opt for durable materials like stainless steel or brass to withstand daily wear.
How to Install a New Faucet Easily
To install a new faucet easily, first gather essential tools such as a wrench, plumber's tape, and a basin wrench.
Next, clear and prepare the sink area by turning off the water supply and cleaning the surface.
Finally, follow the manufacturer's instructions to install the faucet components securely, ensuring all connections are tight to prevent leaks.
Gather Necessary Tools
Preparing for a faucet installation requires gathering the right tools to guarantee a seamless process. Different faucet types might need specific tools, but having a set of plumbing essentials is vital.
You'll want to make sure you’ve got everything ready to tackle any installation challenges. Here’s a concise list of tools to keep handy:
- Adjustable Wrench: Ideal for tightening or loosening nuts and bolts specific to various faucet types.
- Plumber's Tape: Essential for sealing connections and preventing leaks, ensuring a watertight installation.
- Basin Wrench: Designed to reach tight spaces under sinks, making it indispensable for faucet installation.
Prepare Sink Area
A successful faucet installation starts with a clean and organized sink area. Begin by clearing the countertop of any items, guaranteeing ample workspace organization. Remove old fixtures if present, using a wrench to disconnect water lines. Wipe down the sink surface, removing any grime or residue to enhance sink preparation. Ascertain the signs-you-need-professional-drain-cleaning.html">drain is clear, preventing any debris from causing issues later.
Next, place a towel or bucket under the sink to catch water spills. Verify that all mounting holes are unobstructed and free of old sealant. Organize your tools nearby for easy access. Double-check that the water supply valves are off to prevent leaks.
With these steps, you’re ready to move on to installing the new faucet components.
Install Faucet Components
While confirming everything is in order, you'll start installing the faucet components by positioning the faucet base into the mounting holes on the sink. This is vital for various faucet types.
Secure the faucet with the provided nuts and washers underneath the sink. Utilize these installation techniques for a seamless fit:
- Align the Faucet: Verify the faucet is perfectly aligned with the sink's center before tightening.
- Attach Supply Lines: Connect the hot and cold water supply lines to the corresponding valves, making sure of a snug fit to prevent leaks.
- Seal the Edges: Apply plumber’s putty around the base for a watertight seal.
Follow these steps carefully, and your faucet installation will be efficient and sturdy, no matter the faucet types.
Troubleshooting Faucet Installation Issues
Encountering issues during faucet installation is a common challenge that can be frustrating but is often straightforward to resolve. Start by checking faucet alignment, ensuring the fixture is centered correctly. Misalignment can lead to leaks and inefficient water flow. Next, evaluate water pressure. Low pressure might indicate a blockage or improper valve configuration. Use the table below for quick troubleshooting:
| Issue | Cause | Solution |
|---|---|---|
| Misalignment | Incorrect installation | Reposition and tighten fixtures |
| Low Pressure | Blockage in aerator | Clean or replace aerator |
| Water Leaks | Faulty seals | Inspect and replace seals |
| Noisy Pipes | Air in lines | Bleed the system |
Address these concerns systematically, and you'll likely resolve most installation problems efficiently.
Maintenance Tips for Long-Lasting Faucets
To guarantee your faucets last, establish a regular cleaning routine using non-abrasive cleaners to prevent buildup.
Check for leaks periodically by inspecting connections and seals, addressing any issues promptly to avoid water damage.
Also, use the handle gently to prevent wear on internal components, guaranteeing smooth operation over time.
Regular Cleaning Routine
A consistent cleaning routine is essential for maintaining long-lasting faucets. Regular faucet cleaning prevents mineral buildup and keeps your fixtures looking new.
Here’s how to establish an effective routine maintenance:
- Daily Wipe Down: Use a soft cloth to remove water spots and fingerprints. This prevents hard water stains and keeps surfaces shiny.
- Weekly Deep Clean: Mix equal parts of vinegar and water. Apply this solution to the faucet and scrub gently with a toothbrush to remove limescale and grime.
- Monthly Aerator Check: Unscrew the aerator and soak it in vinegar to eliminate sediment. Rinse thoroughly before reattaching.
Check for Leaks
Spotting leaks early is essential for prolonging the life of your faucets. Begin by performing a thorough leak detection. Inspect joints and connections under the sink with a flashlight. Look for water pooling or dampness.
Pay attention to water pressure fluctuations; a sudden drop might indicate a hidden leak. Check the faucet's aerator and spout, as mineral buildup can cause small leaks.
Once you've identified potential issues, tighten any loose connections using a wrench. Replace worn-out washers or seals with compatible parts.
Monitor the water meter for unexplained usage spikes, which can hint at concealed leaks. Regularly checking for leaks not only maintains efficiency but also prevents costly water damage, ensuring your faucets last longer.
Proper Handle Usage
While guaranteeing your faucets last, understanding proper handle usage is essential. Different handle types and ergonomic designs can influence how you interact with your faucet, affecting its longevity. Here’s how to use them effectively:
- Gentle Operation: Avoid excessive force. Over-tightening or abrupt movements can damage internal components, especially in lever and knob handle types.
- Ergonomic Grips: Choose handles with ergonomic designs to reduce strain. They’re not just comfortable; they help maintain a consistent, gentle touch.
- Regular Cleaning: Keep handles clean and free from mineral buildup. Use a mild cleaner to prevent corrosion and guarantee smooth operation.
Frequently Asked Questions
How Do I Choose a Water-Efficient Faucet?
Start by checking for water-saving features like aerators and flow restrictors.
what-to-look-for.html">Choose faucet materials that are durable, such as brass or stainless steel, to guarantee longevity.
Look for products with a WaterSense label, which confirms efficiency.
Consider the faucet's design to complement your space while maintaining functionality.
Evaluate the spout reach and handle type for ease of use.
Prioritize models that balance aesthetics and sustainability.
What Are the Signs I Need a Professional Plumber?
You need a professional plumber if you notice a leaking faucet or fluctuating water pressure.
Persistent leaks can indicate internal damage that requires expert repair.
If water pressure drops suddenly or varies across fixtures, it may suggest hidden pipe issues or blockages.
Attempting DIY fixes might worsen the problem, so it's practical to call a plumber to guarantee proper diagnosis and resolution, preventing further damage and costly repairs.
Can I Repair a Faucet Without Turning off the Water Supply?
You shouldn't repair a faucet without turning off the water supply. Doing so guarantees proper drip prevention and effective faucet maintenance.
Start by locating the shut-off valve under the sink. Turn it clockwise to stop water flow, preventing any potential flooding or damage.
Once the water is off, proceed with repairing or replacing the necessary parts. This approach assures a safe and efficient repair process.
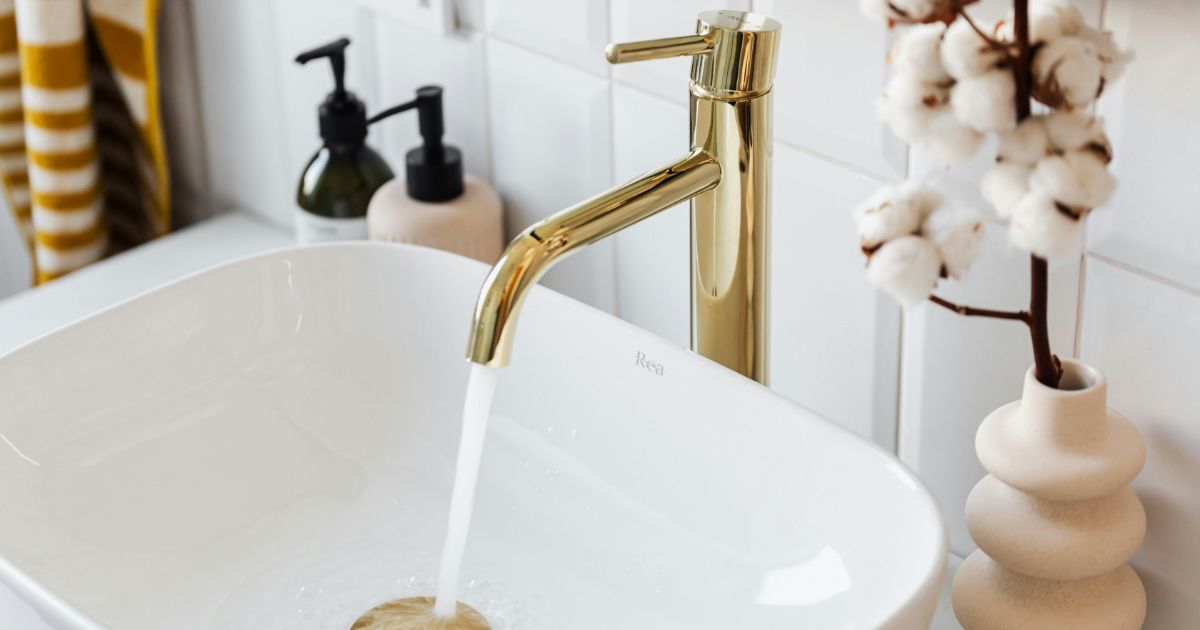
How Do I Match a Faucet Style With My Bathroom Decor?
To match a faucet style with your bathroom decor, consider your faucet materials and color coordination.
Choose materials like chrome for modern looks or brass for vintage charm.
Coordinate faucet colors with existing elements, like tiles or cabinetry, for a cohesive appearance.
Verify the style aligns with your overall theme, whether minimalist or ornate.
Are There Any Eco-Friendly Faucet Options Available?
Yes, you can choose eco-friendly faucets by looking for options made from sustainable materials like recycled metals.
Check for certifications such as WaterSense, which guarantees reduced water usage without sacrificing performance.
Select faucets with aerators to minimize flow rate.
Opt for models with motion sensors to conserve water.
Browse our national plumbing directory to find licensed plumbers near you.