Roof Leak Detection and Repair
You're responsible for ensuring your home's roof-repair-signs-your-roof-needs-professional-repair.html">roof-replacement-when-is-it-time-for-a-new-roof.html">roof-ventilation-and-insulation.html">roof remains leak-free, which involves recognizing early signs like damaged shingles or water stains. Immediate actions, such as applying tarps or roofing cement, provide temporary relief, while tools like moisture meters offer precise detection. Understanding the common causes and knowing when to consult a professional are essential. Would you like to explore how these strategies can prevent costly damage and maintain your roof's integrity?
Temporary Fixes for Immediate Leak Control
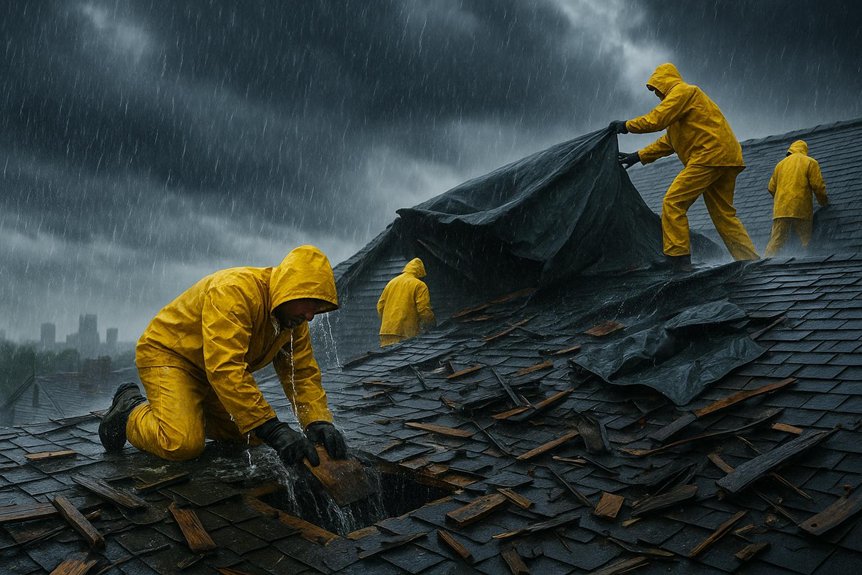
When you first notice a roof leak, immediate action is crucial to prevent further damage. Start with temporary tarp solutions to shield exposed areas. Secure a heavy-duty tarp over the leak, making sure edges extend past the damaged section. Use nails or screws, focusing on the tarp's grommets for a firm hold. This provides a short-term barrier against water intrusion.
Next, apply emergency patch techniques. Use roofing cement or sealant to cover smaller leaks. Clean the affected area thoroughly, then apply the patching material with a putty knife, pressing firmly to guarantee adhesion.
For larger gaps, roofing tape can offer a quick fix. These methods won't replace professional repairs, but they’re essential for controlling leaks until permanent solutions are implemented.
Recognizing the Signs of a Roof Leak
How can you tell if your roof is leaking? Identifying leaks early is essential for effective moisture detection and leak prevention.
Identifying leaks early is crucial for effective moisture detection and preventing roof damage.
Start by observing your roof’s exterior for visible signs of damage. Here’s what to look for:
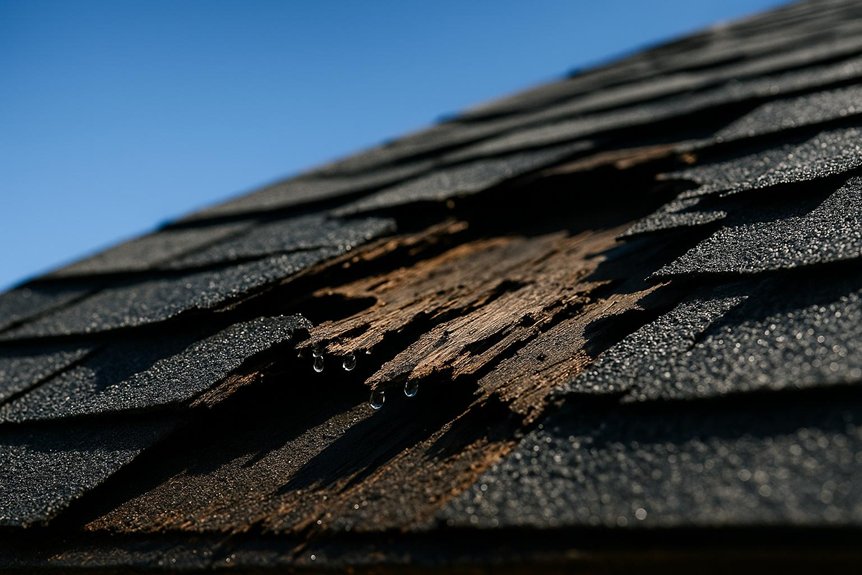
- Damaged Shingles: Cracked, curled, or missing shingles can indicate potential entry points for water.
- Flashing Issues: Check for rusted or displaced flashing around chimneys and vents, as these can allow moisture to seep through.
- Gutter Problems: Confirm gutters are clear and functioning; blockages can cause water to pool and infiltrate your roof.
- Moss or Algae: Growth on shingles often signals trapped moisture, which can compromise roof integrity.
Spotting Water Damage Inside Your Home
When detecting water damage inside your home, start by identifying ceiling stains, which often appear as brown or yellow rings.
Monitor wall discoloration as it can indicate moisture infiltration, leading to potential mold growth.
Don’t overlook the flooring—check for dampness or warping, which signals underlying water issues.
Identifying Ceiling Stains
Even if subtle, ceiling stains can be a clear indicator of water damage in your home. Pay close attention to changes in ceiling texture and stain color to identify potential issues.
Here’s how you can spot them:
- Ceiling Texture: Look for bubbling or peeling paint. These changes suggest moisture infiltration.
- Stain Color: Notice any brown or yellowish discoloration. These hues often signify long-term water exposure.
- Shape and Size: Irregular shapes or expanding spots can indicate an active leak.
- Location: Check areas near chimneys, vents, or skylights where leaks are more common.
Monitoring Wall Discoloration
Why should you pay close attention to wall discoloration in your home? Discoloration often signals underlying issues like wall moisture, which can lead to structural damage if not addressed.
When you spot unusual staining or changes in color, it’s essential to investigate further. Wall moisture can cause paint peeling, creating an unsightly appearance and indicating potential water intrusion.
Begin by inspecting areas near the ceiling and around windows, where leaks commonly develop. Use a moisture meter to assess the extent of dampness. Address the source swiftly to prevent further damage.
Ignoring these signs can lead to mold growth, compromising indoor air quality. Regular monitoring helps maintain your home's integrity and guarantees any water-related issues are promptly resolved.
Checking Flooring Dampness
In addition to monitoring walls, it’s essential to check for dampness in your flooring, as this can be a significant indicator of water damage within your home.
Dampness detection in flooring materials requires a keen eye and attention to detail. Here's how you can spot potential issues:
- Inspect Surface Changes: Look for warping, buckling, or discoloration in flooring materials. These changes often signify moisture intrusion.
- Feel for Soft Spots: Walk across the floor to detect any soft areas. This can indicate water-damaged subflooring.
- Examine Baseboards: Check for swelling or separation from the floor, which may suggest underlying moisture problems.
- Use Moisture Meters: Employ these devices for precise dampness detection, providing accurate readings of moisture levels within your flooring materials.
Common Causes of Roof Leaks
Although roofs are designed to withstand various weather conditions, several factors can lead to leaks. Weather impacts, such as heavy rain, snow, and wind, often stress roof materials. Over time, these elements can cause shingles to crack or dislodge, allowing water to penetrate.
Additionally, poor installation or low-quality materials exacerbate vulnerability. Flashing, the metal used around chimneys and vents, can corrode or become loose, leading to water seepage.
Age is another critical factor. As roofs age, materials degrade, losing their protective capabilities. Clogged gutters can also cause water to pool and seep through weak spots.
Finally, trees near your home can present hazards; falling branches or accumulated debris can puncture or weigh down the roof, causing structural weaknesses.
How to Safely Inspect Your Roof
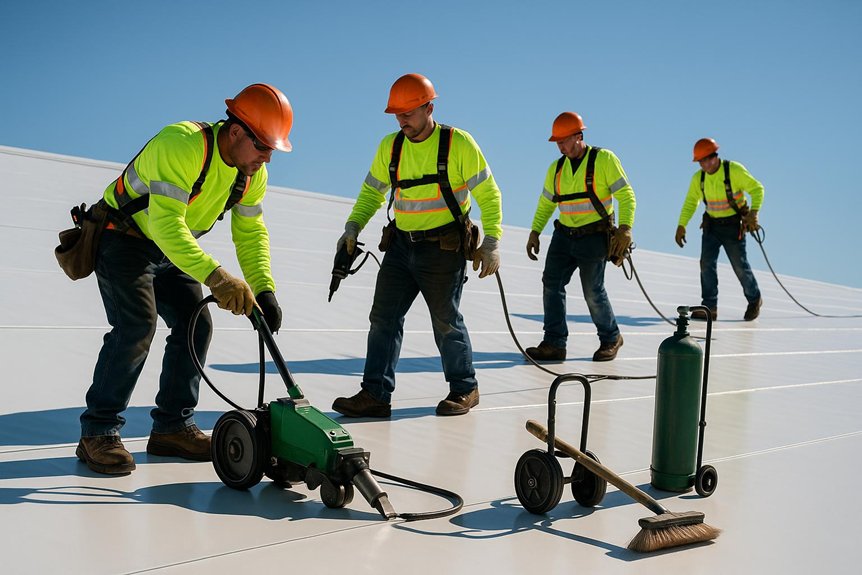
When inspecting your roof, guarantee you’re equipped with essential safety gear such as a harness, helmet, and non-slip footwear to prevent accidents.
Focus on identifying common warning signs like missing shingles, water stains, or mold growth.
Navigate the roof surface cautiously, maintaining three points of contact at all times to enhance stability and safety.
Safety Gear Essentials
A sturdy harness is your first line of defense when inspecting your roof. Securing your safety involves utilizing thorough roof inspection gear. Consider these essentials:
- Harness Systems: Always use a harness with proper fall protection to prevent accidents. Safety training is vital to understand its correct use.
- Safety Glasses and Hard Hats: Protect your eyes and head from unexpected debris and falls with these important items.
- Slip Resistant Footwear and Protective Gloves: Wear footwear that prevents slips and gloves to safeguard your hands from sharp materials.
- Ladder Safety and Weather Considerations: Confirm your ladder is stable and check weather conditions to avoid hazardous situations.
Prioritizing these elements will help you perform a safe and effective inspection.
Identifying Common Warning Signs
Spotting potential roof issues early can save you significant time and expense. Start by examining the drip edge for any damage or warping.
Conduct a thorough gutter inspection to confirm they’re free of debris, which can indicate improper drainage. Consider the roof age; older roofs might need more frequent checks.
Pay attention to weather patterns, as frequent storms can exacerbate wear. Look for ventilation issues, as poor airflow can lead to moisture buildup.
Watch for ice dams in colder climates, which can compromise structural integrity. Different roof types require specific checks, so tailor your maintenance schedule accordingly.
Investigate sealant options to address minor leaks promptly, guaranteeing long-term durability. Identifying these warning signs helps maintain your roof’s health efficiently.
Navigating Roof Surfaces Safely
Keeping your roof in ideal condition starts with recognizing potential issues and understanding how to inspect it safely.
Prioritize roof surface safety by wearing appropriate footwear and considering weather conditions. Guarantee secure rooftop access with a stable ladder, properly angled and placed on solid ground.
Here's how to navigate safely:
- Inspect Equipment: Check ladders and safety gear for stability and damage.
- Weather Awareness: Avoid inspections during rain, snow, or high winds to prevent slips.
- Footwear: Wear rubber-soled shoes for better grip on shingles or metal surfaces.
- Buddy System: Have someone nearby to assist in case of emergencies.
Use these guidelines to safely and effectively inspect your roof, minimizing risks and guaranteeing thorough evaluations.
Essential Tools for Finding Roof Leaks
Detecting roof leaks requires precise tools that enable you to identify problem areas effectively. Start with reliable leak detection methods, which are critical for pinpointing leaks without causing further damage.
Infrared technology is a powerful tool in your arsenal, allowing you to detect moisture hidden beneath roofing materials. This technology highlights temperature variations, revealing moisture-laden areas that are invisible to the naked eye.
Infrared technology uncovers hidden moisture by highlighting temperature variations beneath roofing materials.
Additionally, use moisture meters to measure the water content within roofing materials, providing accurate data on affected spots. Employ inspection cameras to access hard-to-reach areas, ensuring a thorough examination.
Don't forget to have a quality flashlight and chalk for marking identified leaks. These tools, when used correctly, streamline the detection process, saving you time and preventing further damage.
How Flashing Helps Prevent Leaks
When you guarantee flashing is properly installed, it effectively channels water away from vulnerable areas, considerably reducing the risk of leaks.
You'll find common materials like aluminum, copper, and galvanized steel, each offering different levels of durability and cost.
Regularly inspect for signs of flashing damage, such as corrosion or separation, to maintain your roof's integrity.
Importance of Proper Installation
Proper installation is essential because even minor oversights can lead to significant roofing issues. Ensuring high installation quality is vital for maximizing roof longevity and preventing leaks.
Flashing plays a pivotal role in this process by directing water away from vulnerable areas. Here's how proper flashing installation helps:
- Seam Protection: Flashing seals roof seams, preventing water infiltration and potential damage.
- Water Diversion: It channels water away from critical joints, safeguarding against leaks.
- Expansion Accommodation: Properly installed flashing allows for natural material movement without compromising integrity.
- Corrosion Resistance: Quality flashing materials resist rust, extending the roof's lifespan.
Common Flashing Materials
Among the essential components of roof construction, flashing materials stand out as significant elements in leak prevention.
You'll find various flashing types, each with unique properties suited for specific applications. Aluminum flashing is lightweight and corrosion-resistant, offering a moderate flashing lifespan. Copper flashing, while more expensive, provides superior durability and aesthetics, lasting decades. Galvanized steel is a cost-effective option, combining strength with a reasonable lifespan. Rubberized asphalt is flexible and self-sealing, ideal for complex roof intersections. Lead flashing, traditionally used for chimneys, offers excellent malleability and longevity.
Selecting the right material depends on your roof's design, environmental conditions, and budget. Properly installed flashing directs water away, safeguarding vulnerable roof areas, thereby playing an essential role in maintaining structural integrity.
Identifying Flashing Damage
Flashing, an essential barrier against water intrusion, can suffer from various types of damage that compromise its effectiveness.
As you inspect your roof, understanding the flashing types and proper flashing installation is vital.
Look for these common signs of damage:
- Cracks or Holes: Check for visible splits or punctures, especially in older flashing types.
- Corrosion: Metal flashings can rust over time, weakening their protective capabilities.
- Loose Seals: Confirm that the edges are securely fastened, as loose seals can lead to leaks.
- Improper Installation: Incorrect flashing installation may cause gaps where water can seep in.
Regular inspections help maintain roof integrity, guaranteeing the flashing continues to protect against leaks effectively.
Address any issues promptly to prevent further damage.
Need a Roofing Contractor?
Find licensed, reviewed roofing professionals in your area. Get free estimates from verified contractors.
Find Local Roofers Call (866) 466-9085Permanent Repair Solutions for Roof Leaks
When tackling roof leaks, it's essential to evaluate permanent repair solutions that guarantee long-lasting protection. Start by focusing on leak sealing and applying advanced roof coatings.
These coatings, combined with waterproof membranes, create robust weatherproof barriers. Opt for long-lasting materials that enhance structural integrity and withstand environmental challenges.
Implement regular maintenance routines and inspection schedules to catch potential issues early.
Refine your repair techniques by integrating roofing innovations that enhance durability. Ascertain every method you apply aligns with the roof's specific needs, strengthening its resilience.
By prioritizing these elements, you’ll not only address current leaks but also prevent future ones, securing your home against unpredictable weather conditions.
Choosing Materials for Lasting Repairs
Selecting the right materials for lasting roof repairs is essential to guaranteeing long-term durability and effectiveness. When you’re choosing materials, focus on these key factors to enhance material durability and repair longevity:
- Weather Resistance: Opt for materials that withstand local climate conditions, whether it’s intense heat, heavy rain, or snow.
- Compatibility: Confirm the repair materials are compatible with your existing roof structure to prevent further damage and ensure a seamless fix.
- Quality: Invest in high-quality materials, even if they’re more expensive initially. They often provide better protection and last longer.
- Ease of Application: Choose materials that are easy to apply correctly to avoid potential mishaps that could compromise the repair’s effectiveness.
When to Call a Professional Roofer
How do you know when it's time to call a professional roofer? If leaks persist after basic repairs, it’s essential to seek a professional evaluation.
Persistent leaks after DIY fixes? It's time for a professional roofer's evaluation.
Complex issues like structural damage or extensive water infiltration require expertise beyond DIY solutions. You should schedule a roof inspection when you notice sagging areas or unusual water stains, as these can indicate deeper problems that need specialized attention.
A professional roofer will conduct a thorough roof inspection, identifying hidden issues you might overlook. Their expertise guarantees precise diagnosis and effective repair strategies.
If your roof is nearing the end of its lifespan, a professional evaluation helps determine whether repair or replacement is more cost-effective. Don’t risk further damage; a professional’s insight is invaluable for maintaining your roof's integrity.
Roof Maintenance Tips
Proper roof maintenance is essential to extending the lifespan of your roof and preventing costly repairs.
By following these detailed steps, you can guarantee your roof remains in peak condition:
- Roof Cleaning: Regularly remove debris, moss, and algae. Use a soft brush or low-pressure wash to avoid shingle damage.
- Gutter Maintenance: Clean gutters and downspouts biannually to prevent water buildup, which can cause leaks and structural damage.
- Inspect Flashing: Check all flashing for rust or damage. Proper sealing of these areas prevents water intrusion.
- Check for Loose Shingles: After storms, inspect for and replace any loose or missing shingles to maintain roof integrity.
Consistent attention to these tasks will help you avoid roof leaks and extend its functional life.
Roof Warranty and Insurance: What You Need to Know
Why is understanding your roof warranty and insurance so essential? Knowing these details can save you time and money when dealing with potential roof leaks. Roof warranty coverage often includes defects in materials or workmanship, while insurance claims handle damage from unexpected events like storms. Familiarize yourself with both to guarantee you're fully protected.
Here's a simple breakdown:
| Aspect | Details |
|---|---|
| Warranty Coverage | Covers materials/workmanship defects |
| Insurance Claims | Covers storm/damage-related issues |
| Action Steps | Review terms; know contact info |
Cost-Effective Ways to Prevent Future Leaks
Understanding your roof warranty and insurance sets the stage for effective leak prevention.
Understanding your roof warranty and insurance is crucial for preventing leaks effectively.
To prevent future leaks, focus on cost-effective strategies. Regular DIY maintenance and seasonal inspections are essential. Here’s a concise guide:
- Regular Inspections: Conduct inspections at least twice a year, paying attention to shingles, gutters, and flashing. This helps identify potential problems early.
- DIY Maintenance: Clear debris from gutters and downspouts to guarantee proper drainage. This prevents water buildup that can lead to leaks.
- Sealant Application: Apply roof sealant to vulnerable areas like vents and chimneys. This adds an extra layer of protection against moisture.
- Trim Overhanging Trees: Trees can damage your roof and create debris. Keep branches trimmed to minimize risk.
These steps enhance roof durability and prevent costly repairs.
Frequently Asked Questions
How Can Weather Conditions Affect Roof Leak Detection?
Weather conditions greatly impact your ability to detect leaks.
Rain effects can reveal leaks by visibly highlighting water entry points, but they also complicate inspections due to wet surfaces.
Temperature fluctuations cause materials to expand and contract, potentially hiding or revealing leaks differently.
You’ll need to assess during varied conditions to accurately identify and address issues, ensuring that both rain and temperature changes are accounted for in your evaluations.
What Are the Eco-Friendly Options for Roof Repair?
You can choose eco-friendly roof repair options by using green materials like recycled shingles or metal roofing.
Implement sustainable practices by opting for reflective coatings that reduce energy consumption.
Install solar panels to enhance energy efficiency.
Use durable, long-lasting materials to minimize waste.
Consider green roofs, which offer insulation and manage stormwater.
Can Roof Leaks Impact Indoor Air Quality?
Yes, roof leaks can impact indoor air quality. When water seeps in, it increases indoor humidity, creating an ideal environment for mold growth.
Mold releases spores and air pollutants, contributing to poor air quality. This can pose health risks, such as respiratory issues and allergies.
It's vital to address leaks promptly to prevent these problems and maintain a safe, healthy indoor environment. Monitoring and repairing leaks guarantees better air quality.
How Do Roof Leaks Influence Energy Efficiency?
Roof leaks directly affect energy efficiency by allowing air and water intrusion, leading to increased energy loss.
You can use thermal imaging to identify areas where heat escapes or cold air enters, highlighting compromised insulation.
This tool helps pinpoint leaks that cause your HVAC system to work harder, raising utility costs.
Addressing these leaks not only preserves energy but also enhances your building’s overall thermal performance.
Are There Digital Tools for Detecting Roof Leaks Remotely?
Yes, there are digital tools for detecting roof leaks remotely. You can utilize thermal imaging to identify temperature variances that suggest moisture.
Drones equipped with thermal cameras offer an extensive view of your roof, capturing detailed images and detecting potential leaks.
This technology enhances accuracy and efficiency, allowing you to pinpoint issues without the need for immediate physical inspection, ultimately saving time and resources in maintenance planning.
Browse our national roofing directory to find licensed contractors near you. See pricing guides for Orlando, Houston, Miami, Fort Myers, Indianapolis, and more.